A quick demonstration of the grid system at the base N level.
Step 1
You need to know the position of the block.
Example: if you have this blue square, the center of it, from all sides, is its position.
For instance, if the left side of the block is (5,1,5), the center is (5.5,1,5). The block's position is that center.
Step 2
If you don't know what a raycast is, read the link below first, or the next steps won't make sense.
Raycasting: https://create.roblox.com/docs/workspace/raycasting
Step 3
Here is how it works, so you can understand it and build a better one.
Grid part: the part under the block you are placing.
The grid is a set of parts stuck next to each other, each with an image or SurfaceGui frame on top. When you use your building system, raycast downwards from the block you are placing. The part the ray hits is your grid part.
When you place a block, it takes the position of that grid part. That is why you can't place a block in between two grid parts.
Watch the video at the start again to see this in action.
Step 4: How to make a grid block
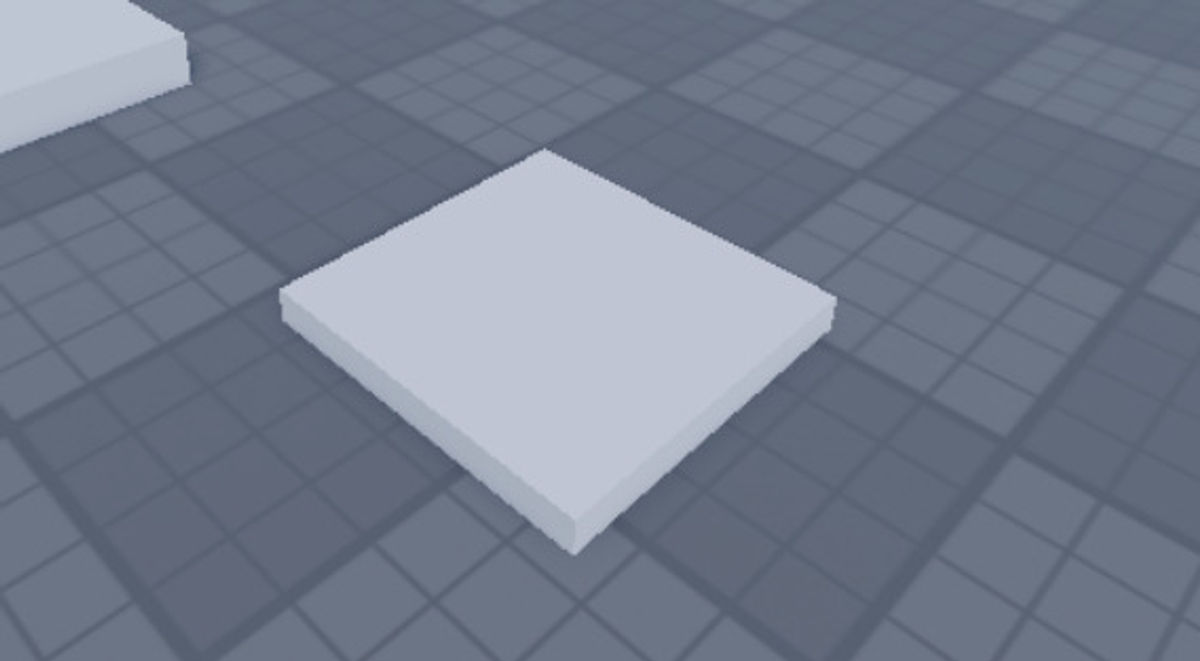
- Make a part that will be the size of your grid
- Make it look like a grid part; here is how I did it
- Now add a local script in your building system.
Step 5: Creating multiple grid blocks for X: Y
We'll be cloning the gridPart so it covers the entire grid area.
local gridpart = game.ReplicatedStorage:FindFirstChild("GridPart")

for x = 5,55,5 do
    for z = 5,55,5 do
        task.wait(0.05) -- to create a tween effect
        local gridclone = gridpart:Clone() -- clones and keeps in workspace
        gridclone.Parent = workspace
        gridclone.Position = Vector3.new(x,0.5,z)
        gridclone.Anchored = true
        gridclone.CanCollide = false
    end
end
Step 6: Using the grid
local selectionpart = Instance.new("Part")
selectionpart.Size = Vector3.new(5,5,5)
selectionpart.Transparency = 0.5
selectionpart.CanCollide = false
selectionpart.CanQuery = false -- so the raycast won't hit itself
selectionpart.Anchored = true
local player = game.Players.LocalPlayer
local mouse = player:GetMouse()

mouse.Move:Connect(function()
    local raycastresult = workspace:Raycast(mouse.Hit.Position + Vector3.new(0,150,0),Vector3.new(0,-250,0))
    if raycastresult ~= nil then -- if there is nothing under the selection part
        if raycastresult.Instance.Name == "GridPart" then -- checks if its a grid part
            selectionpart.Position = raycastresult.Instance.Position + Vector3.new(0,selectionpart.Size.Y/2,0)
        end
    end
end)

selectionPart.Parent = workspace
We will basically cast a ray from the player's cursor in the 3D world; wherever the user is currently focusing it will be the Hit position. And we use that position to find the nearest grid part.
For large-scale building systems, a matrix grid is recommended. Use the targeted metric accordingly.